Topic: Dynamic Spread Backtetsing
Hello Trader,
I'll demonstrate the effect of the Dynamic spread when we backtet a strategy.
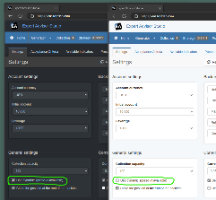
I'll use two copies of EA Studio with equal data and the same strategy open.
The left-hand side EA Studio instance has a Dark colour theme and uses "Dynamic spread".
The right-hand side EA Studio uses a light color theme and has "Dynamic spread" disabled.
Please find the demonstration strategy attached.
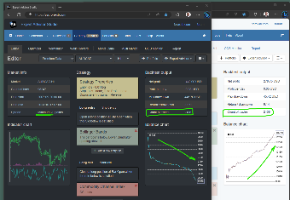
Here is how the backtest looks with and without Dynamic spread backtesting.
The data, the strategy and all other settings are the same. The only difference is that the "dark" EA Studio uses dynamic spread, and the "Light" EA Studio uses fixed spread.
You see that the count of trades is the same in both instances.
Here is a screenshot of the Journal:
We see that we have a different Open price of the first position.
The first position is long. It means that it opens at the Ask price.
Because the historical data and the indicator charts use Bid prices, we calculate the Ask price by adding the spread.
Ask = Bid + Spread
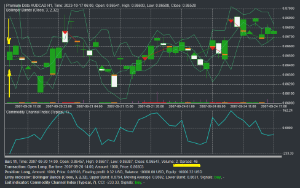
We have "Bar Open" = 0.86457. This is the Bid price.
We can see the dynamic spread on the Indicator chart when we hover the mouse over a specific bar.
We have different Ask prices in both examples:
- Dynamic spread: Ask = 0.86457 + (46 * 0.00001) = 0.86457 + 0.00046 = 0.86503
- Static spread: Ask = 0.86457 + (20 * 0.00001) = 0.86457 + 0.00020 = 0.86477
Therefore, when we use a dynamic spread, the deposition opens at 0.86477; when we use a static spread, the position opens at 0.86477.
The dynamic spread eats from the profit.
Using dynamic spread makes the backtest far more reliable.
For that reason, I recommend using either the provided Premium Data feed or importing data from MetaTrader 5.
Please study this example and post your comments.


